You can have perfect lighting, a skilled photographer, and confident posing — yet still dislike your photos. Often, the reason lies in clothing choices. Certain fabrics, colors, patterns, and cuts behave unpredictably on camera, distorting proportions, creating visual distractions, or aging photos prematurely.
Unlike styling for in-person events, photography requires specific wardrobe considerations. Cameras interpret texture, color, and contrast differently than human eyes, and what looks stylish in the mirror can photograph poorly under studio lighting or in outdoor settings.
In this comprehensive guide, we'll explore the most common clothing mistakes in photography and provide practical advice on choosing outfits that look flattering, balanced, and timeless on camera.
Key Takeaways
- Cameras capture clothing with technical precision that reveals details and patterns invisible to casual observation
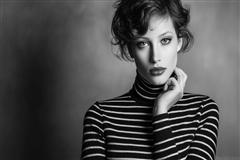
- Busy patterns (thin stripes, small checks, houndstooth) create visual noise and distract from your face
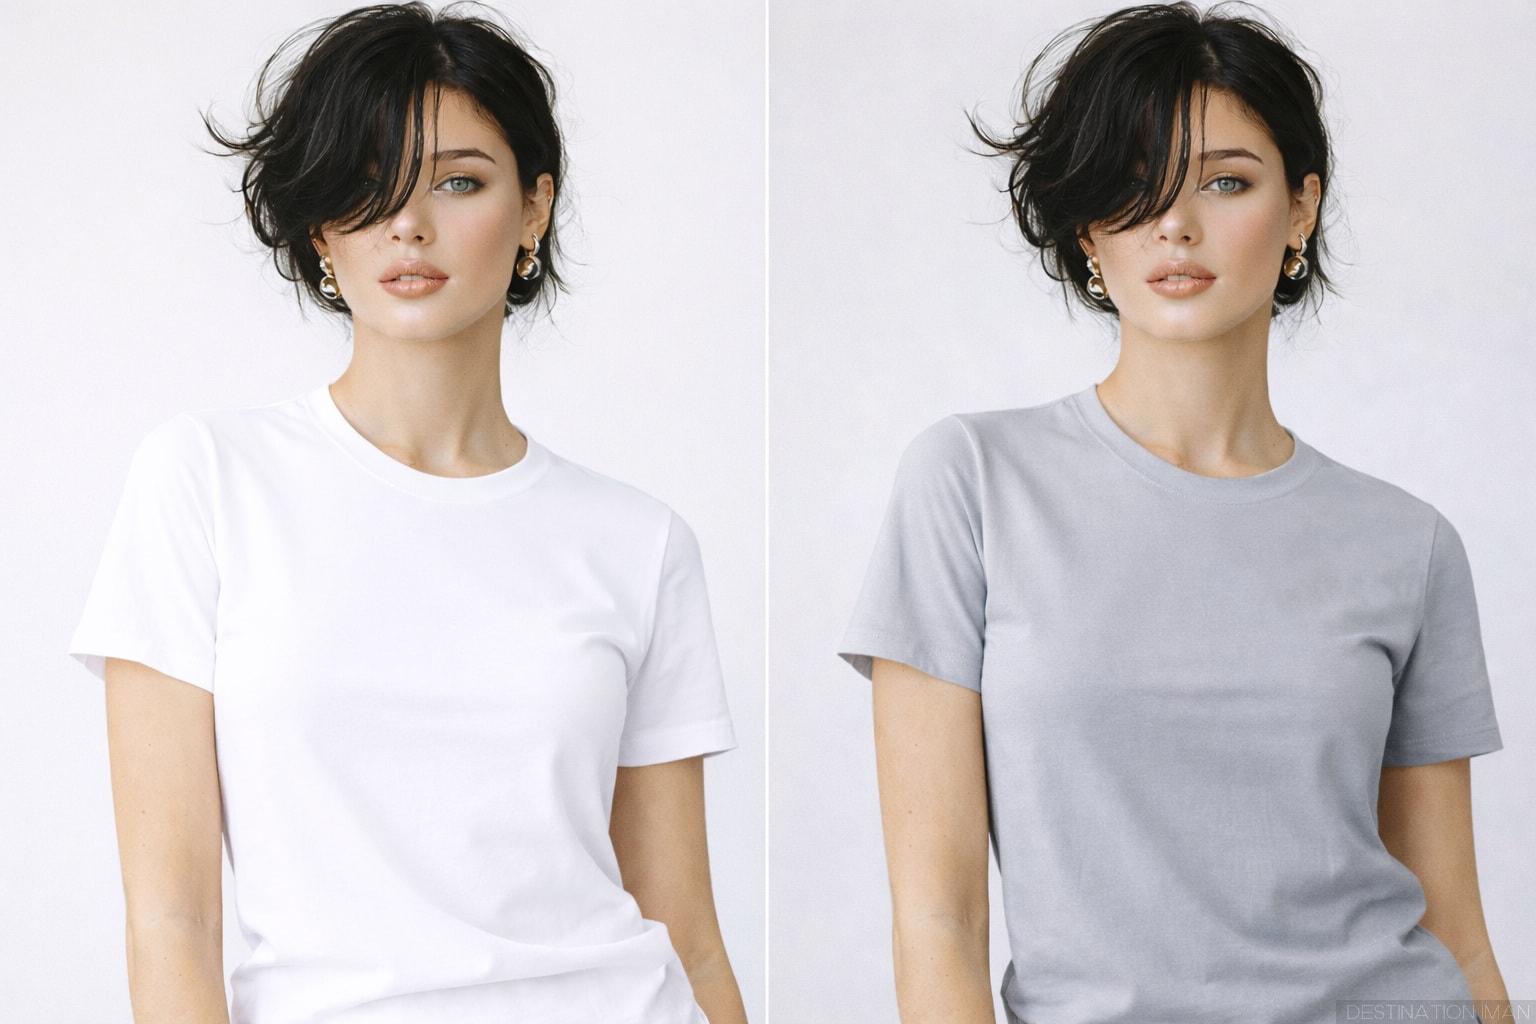
- Pure white blows out and loses detail; pure black absorbs light and loses texture — choose off-white, cream, or charcoal instead
- Shiny reflective fabrics create hotspots and draw attention to body contours — stick to matte or subtly textured materials
- Proper fit is critical: too tight creates pulling and bunching; too loose adds visual bulk
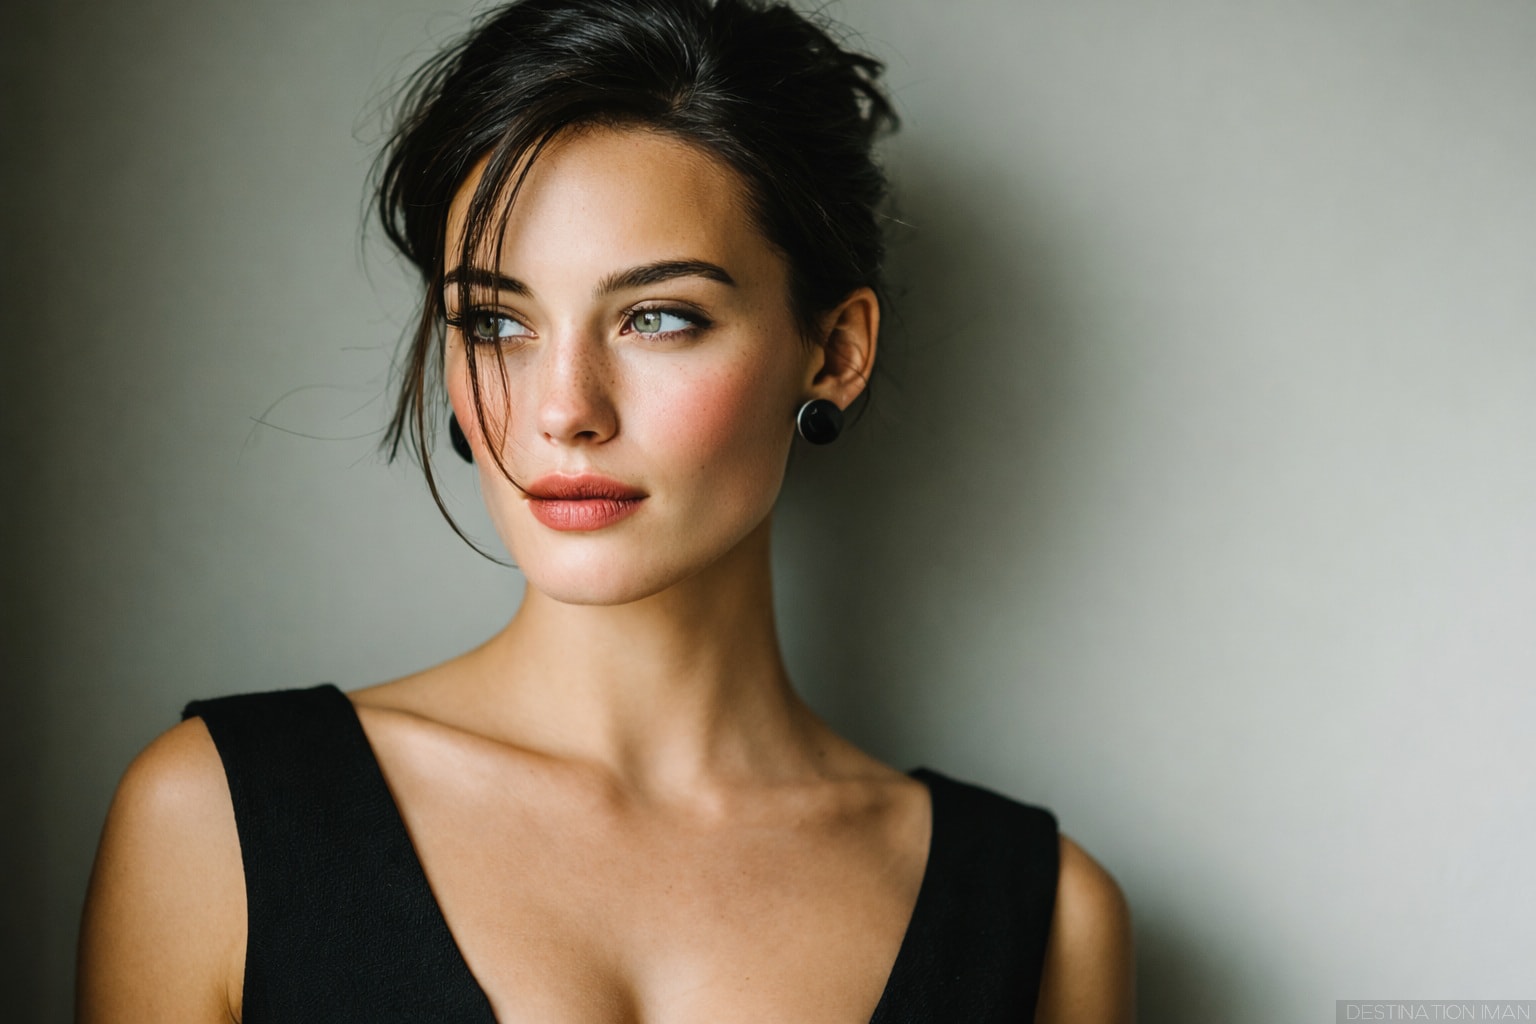
- V-necks and open collars elongate the neck; high crew necks and boat necks can be unflattering
- Visible logos, text, and graphics distract from your face and date photos quickly
- Timeless classics photograph better than extreme trends — ask "will this look good in 5 years?"
- Always steam or iron clothing before shoots — wrinkles cast shadows and look unprofessional
- Test outfit choices in similar lighting before the shoot and bring backup options
Why Clothing Looks Different on Camera
The fundamental challenge is that cameras and human vision operate differently. Your eyes continuously adjust for lighting, movement, and context, while cameras capture a single frozen moment with technical precision.
This means that clothing which looks perfect in person can appear problematic in photos:
- Patterns become more intense — small prints that look subtle in person can overwhelm in photos
- Colors shift unexpectedly — lighting conditions change how colors render on camera sensors
- Textures are amplified — fabric details invisible to the eye become prominent in high-resolution images
- Proportions can distort — certain cuts and fits photograph differently than they appear in three dimensions
- Reflections create hotspots — shiny fabrics bounce light unpredictably
- Wrinkles and folds cast shadows — creating unintended visual weight
Understanding these technical realities allows you to make strategic wardrobe choices that translate beautifully on camera while still expressing your personal style.

Pattern and Color Mistakes
The most common and easily avoidable clothing mistakes involve pattern and color selection. These elements have an outsized impact on how your photos look.
Wearing Overly Busy Patterns
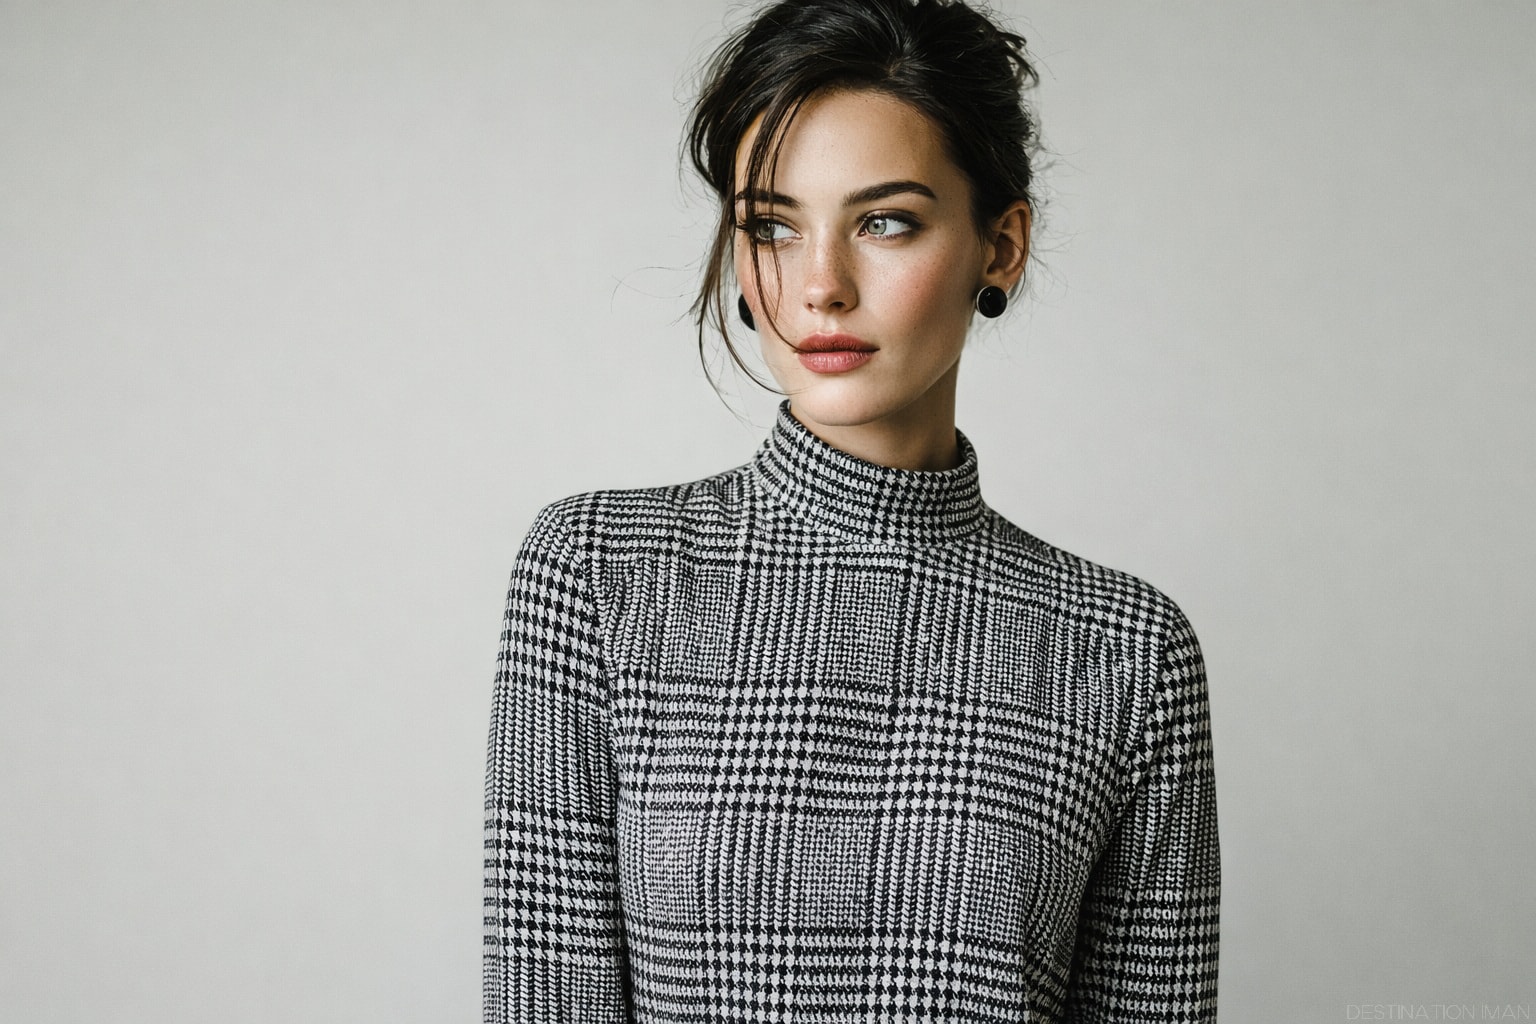
Small, high-contrast patterns — thin stripes, tiny checks, dense florals, or intricate geometric designs — create visual chaos in photos. They distract from your face, compete for attention with your expression, and can cause moiré effects (wavy interference patterns) on digital camera sensors.
Why this happens: Cameras struggle to render fine patterns accurately, especially when the pattern frequency approaches the sensor's resolution limit. The result is visual noise that draws the eye away from you and toward the clothing.
The fix: Choose solid colors or large-scale, simple patterns:
- Solid colors are always safe and timeless
- Large, soft patterns (if you want pattern) that read as textural interest rather than visual noise
- Subtle tone-on-tone patterns that add depth without distraction
- Avoid pinstripes, small checks, houndstooth, and busy florals
- Test rule: if you squint at the pattern and it becomes visually chaotic, it will photograph poorly
Choosing Problematic Colors
Not all colors photograph equally well. Certain hues react poorly to camera sensors and lighting conditions, creating exposure problems or unflattering skin tone interactions.
Colors to approach with caution:
- Pure white — can blow out (lose all detail) in bright lighting, creating a distracting bright blob
- Pure black — absorbs light completely, losing texture and detail, can make you disappear into dark backgrounds
- Neon and fluorescent colors — reflect light unevenly, can cast unflattering color onto your face
- Very saturated reds — can "bleed" or create color fringing on some cameras
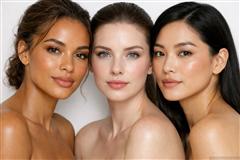
- Colors that clash with your skin tone — can make you look washed out or sallow
Why this happens: Camera sensors have limited dynamic range compared to human vision. They struggle with extreme brightness (pure white) and extreme darkness (pure black), losing detail at both ends of the spectrum. Highly saturated colors can exceed the sensor's ability to capture accurate hue information.
The fix: Choose photo-friendly color alternatives:
- Off-white, cream, or light grey instead of pure white
- Charcoal, deep navy, or dark brown instead of pure black
- Muted, desaturated versions of bright colors
- Earth tones — terracotta, olive, rust, sand, deep burgundy
- Jewel tones — emerald, sapphire, amethyst (rich but not neon)
- Pastels and soft neutrals for a gentle, timeless look
Consider your skin tone as well: warm undertones generally look best in warm colors (rust, olive, gold), while cool undertones favor cool colors (navy, grey, emerald).
Fabric and Texture Issues
Fabric choice affects not just how comfortable you are during a shoot, but how light interacts with your clothing and ultimately how you photograph.
Shiny or Highly Reflective Fabrics
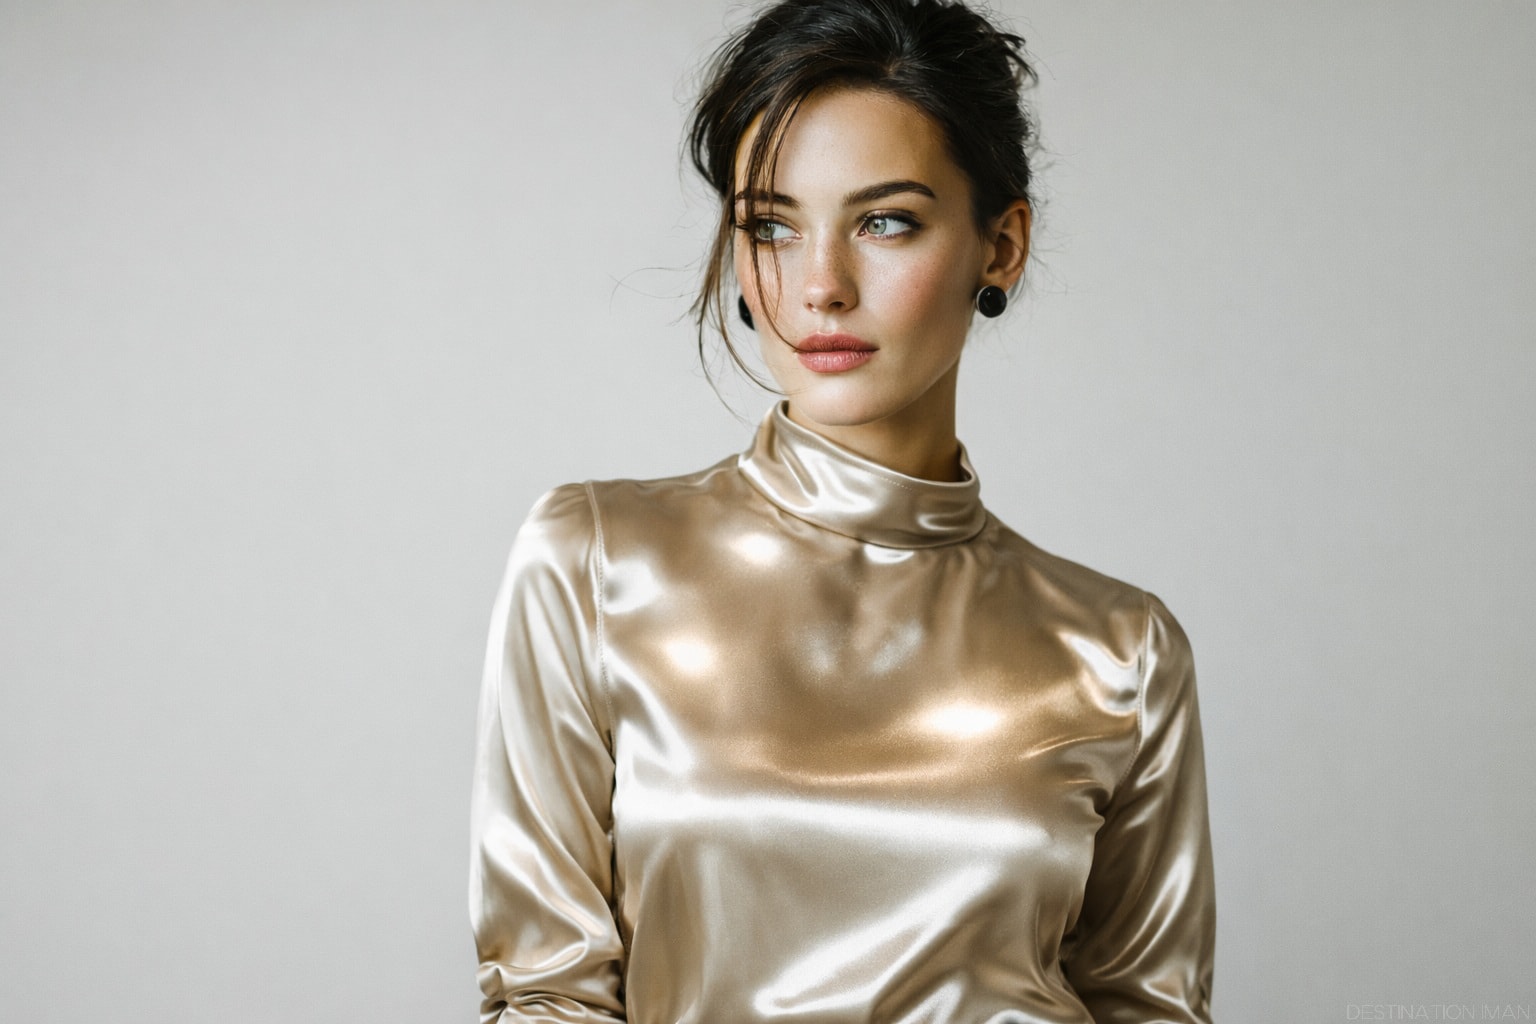
Satin, silk, lamé, sequins, patent leather, and certain synthetic fabrics reflect light in unpredictable ways. Under photography lighting — especially studio strobes or bright outdoor sun — these materials create bright hotspots that draw attention to specific body areas, often unflattering ones.
Why this happens: Shiny fabrics act like mirrors, reflecting light sources directly back at the camera. The reflections emphasize curves, folds, and body contours in ways that can be unflattering, making areas appear larger or drawing attention away from your face.
The fix: Choose matte or subtly textured fabrics:
- Matte cotton, linen, or wool — absorb light evenly
- Soft knits — create gentle texture without shine
- Matte jersey — drapes well and photographs smoothly
- Structured cotton or twill — maintains shape without reflection
- If you want subtle sheen, choose fabrics with soft luster rather than high shine
Exception: Intentional use of shine can work in fashion photography when used strategically as a design element, but for portraits and professional headshots, matte fabrics are universally safer.
Ignoring Fabric Weight and Drape
Heavy, stiff fabrics can add visual bulk, while very lightweight fabrics may cling, wrinkle, or blow around unpredictably. The way fabric drapes on your body affects your silhouette in photos.
Why this happens: Cameras capture fabric exactly as it falls in that frozen moment. Stiff fabrics stand away from the body, creating volume. Clingy fabrics reveal every curve and potentially unflattering angle.
The fix: Choose fabrics with good drape and medium weight:
- Medium-weight fabrics that skim the body without clinging
- Fabrics with structure but not stiffness
- Natural fibers that breathe and drape naturally
- Test movement — fabric should move gracefully when you do
Fit and Proportion Mistakes
How clothing fits your body is just as important as what you wear. Ill-fitting garments can distort your proportions and create unflattering visual effects.
Clothes That Are Too Tight
Overly tight clothing creates pulling, bunching, and unwanted emphasis on body areas. Fabric strain creates unflattering lines and shadows that cameras capture mercilessly.
Why this happens: When fabric is stretched tight across the body, every curve, fold, and contour is emphasized. Seams pull, creating horizontal lines. Fabric bunches at stress points, creating visual bulk exactly where you don't want it.
The fix: Choose properly fitted garments:
- Clothes should skim the body without pulling or gaping
- Check for pulling at buttons, seams, and closures
- Ensure freedom of movement — you should be able to pose naturally
- Pay attention to armholes — too tight creates unflattering arm appearance
Clothes That Are Too Loose
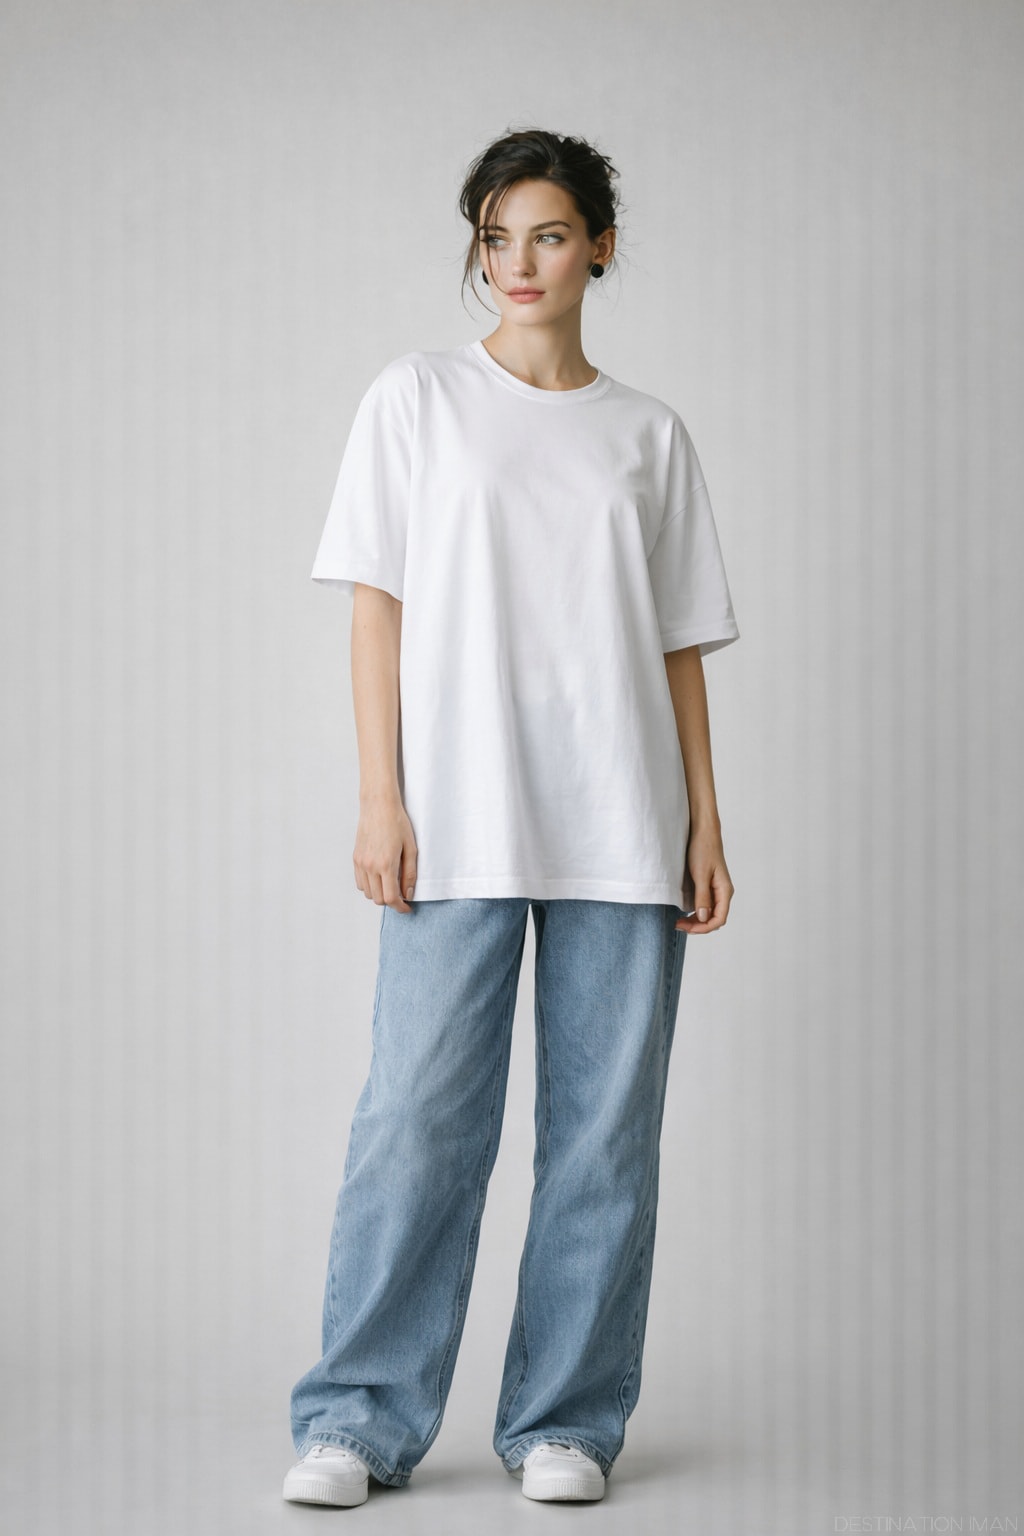
Oversized or shapeless clothing can add visual weight and hide your natural proportions entirely, making you appear larger than you are and creating an unflattering silhouette.
Why this happens: Cameras flatten three-dimensional shapes. When clothing is very loose, the camera reads the outer edge of the fabric as your body's edge, adding all that extra fabric volume to your perceived size.
The fix: Even in relaxed styles, create some definition:
- Define your waist with a belt, tucking, or tailored construction
- Show some body shape — at least hint at your natural proportions
- Balance loose and fitted — if the top is loose, keep bottoms more fitted and vice versa
- Avoid shapeless tunics or sack-like silhouettes unless intentionally styled
Ignoring Necklines
Neckline choice dramatically affects how your neck, shoulders, and face photograph. The wrong neckline can shorten your neck, broaden your shoulders, or create unflattering framing around your face.
Why this matters: Necklines create visual lines that lead the eye. High, closed necklines cut the neck short and can make you appear hunched. Wide horizontal necklines broaden the shoulders. The right neckline elongates and flatters.
The fix: Choose necklines strategically:
- V-necks — universally flattering, elongate the neck, create vertical lines
- Scoop necks — softer than V-necks but still elongating
- Open collars — create vertical lines and show the neck
- Avoid very high crew necks unless you have a very long neck
- Avoid wide boat necks if you have broad shoulders
- Off-shoulder can work but ensure it doesn't create unflattering horizontal lines
Styling and Detail Mistakes
Beyond the basics of color, fabric, and fit, styling details can make or break your photo wardrobe.
Wearing Distracting Logos, Text, or Graphics
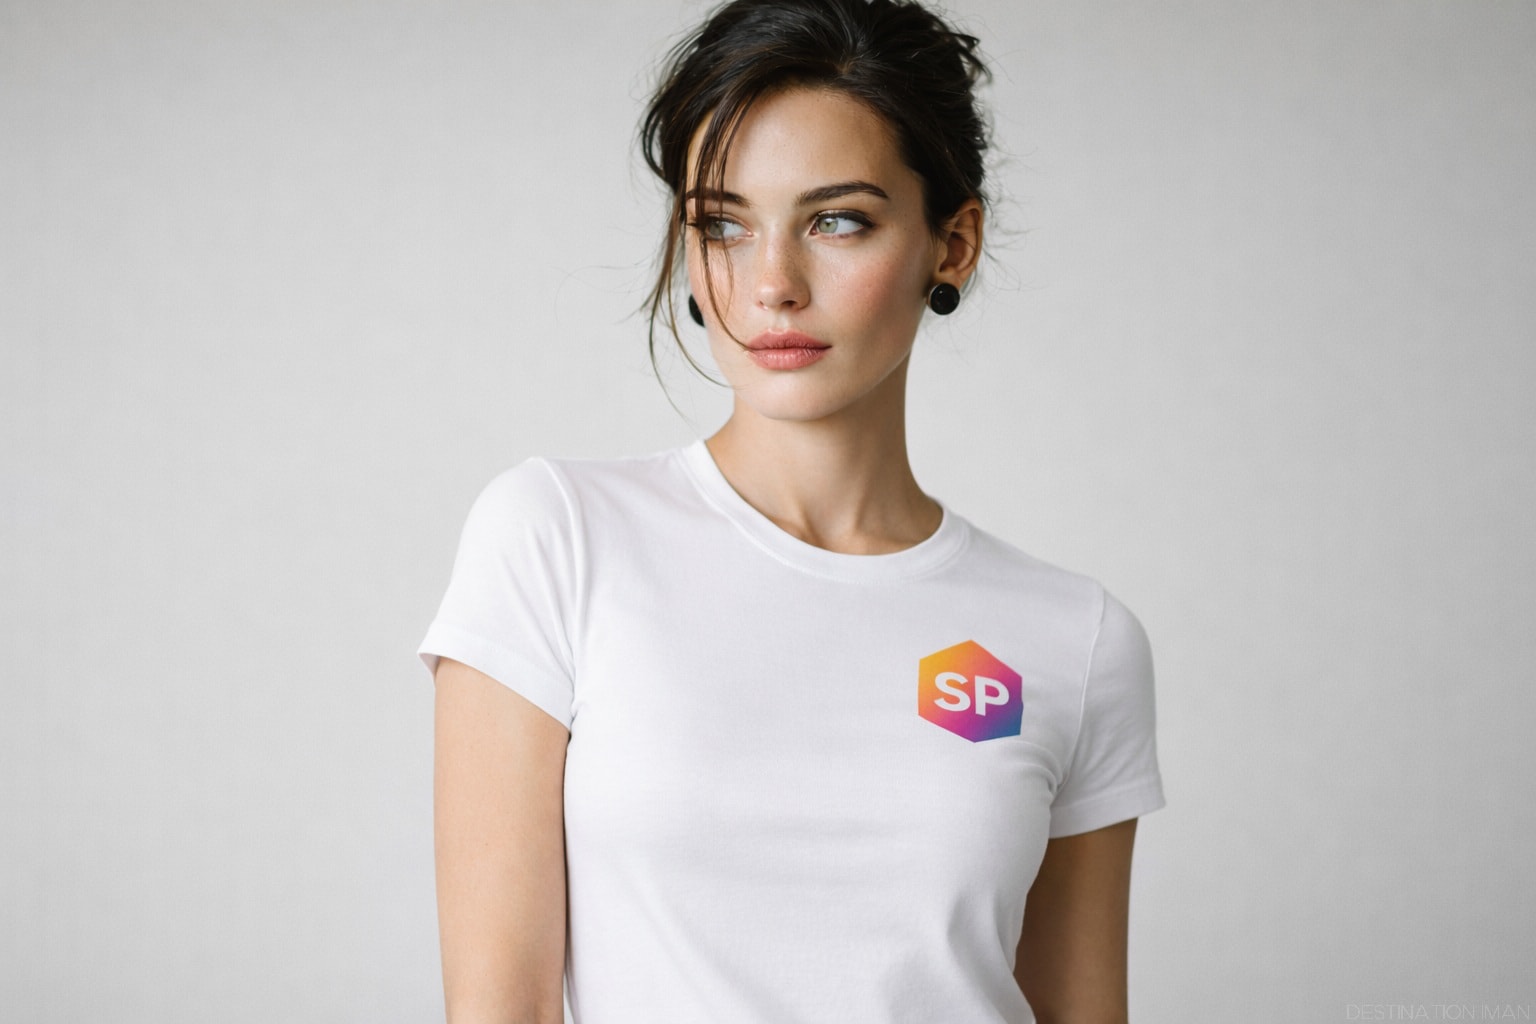
Large logos, brand names, graphic text, or busy graphic designs pull attention away from your face and can date photos instantly. They also make photos less versatile — you can't use a professional headshot where your shirt advertises a brand or displays questionable text.
Why this is problematic: The human eye is drawn to text and recognizable symbols. In a photo, viewers will read text on your clothing before they look at your face or expression. Additionally, branded clothing dates photos to a specific era and limits their professional use.
The fix: Choose clean, logo-free clothing:
- Solid, unbranded pieces — timeless and professional
- Subtle, small logos if absolutely necessary, but prefer none
- No text graphics unless it's intentional and meaningful to the photo's purpose
- Avoid trendy brand collaborations that will date quickly
Over-Accessorizing
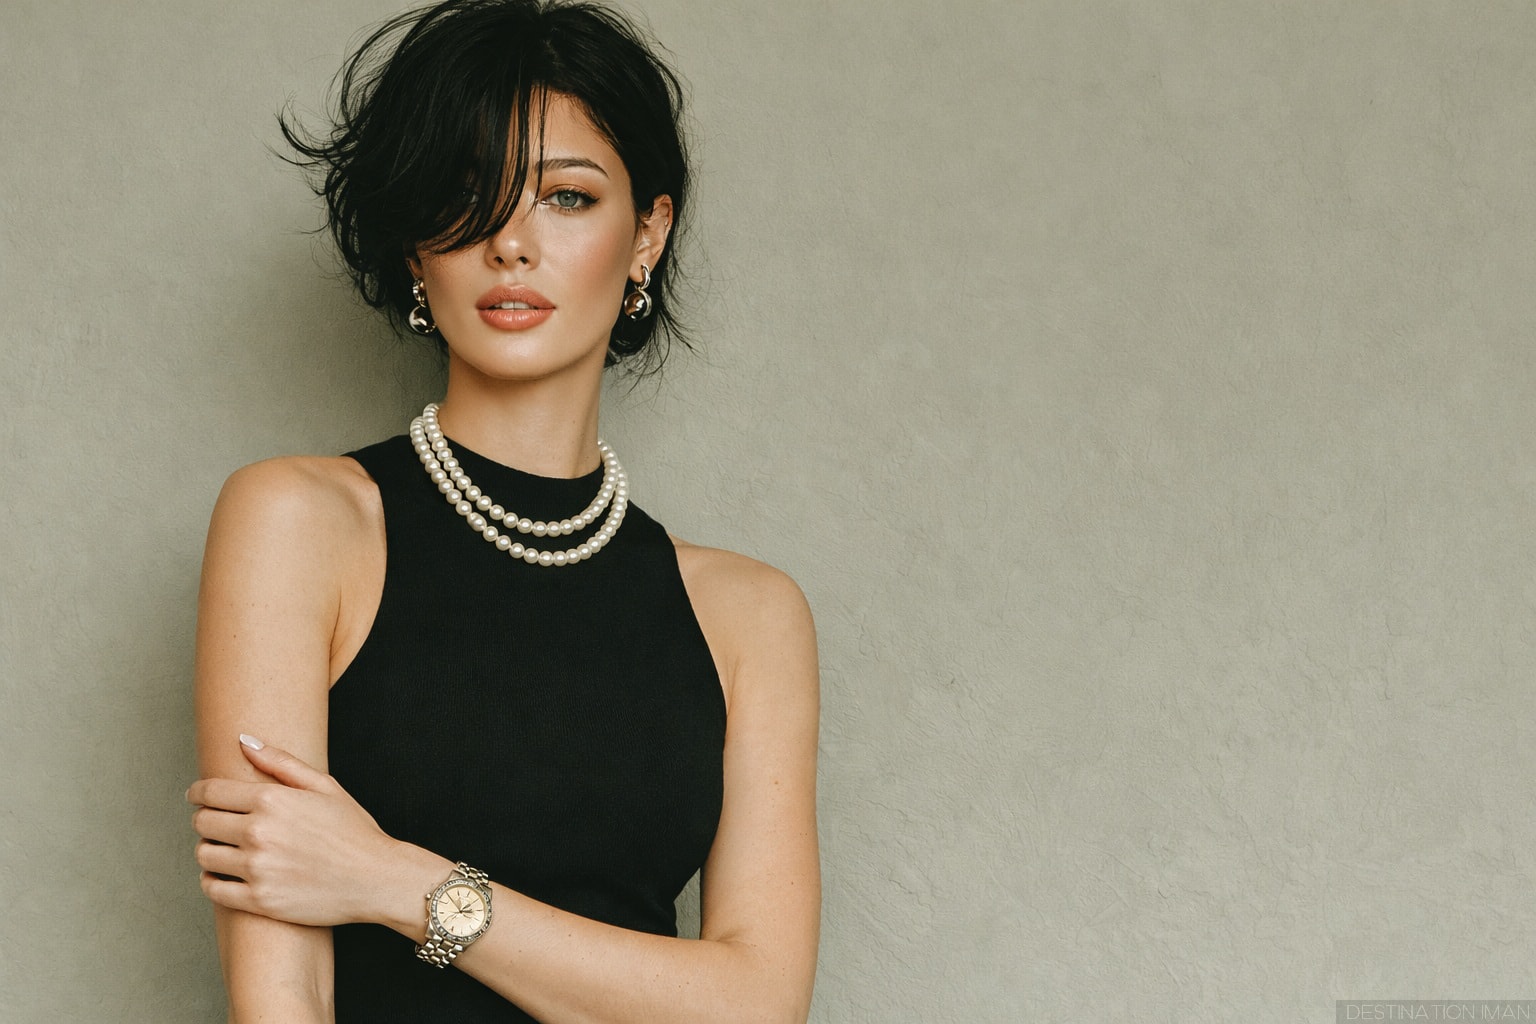
Too many accessories — statement necklaces, multiple bracelets, large earrings, scarves, hats, and belts all at once — create visual clutter that distracts from you and makes photos feel busy and dated.
Why this happens: Cameras capture everything with equal detail. While you might mentally filter out accessories in person, photos preserve every element with the same visual weight, creating competition for attention.
The fix: Choose one or two meaningful accessories:
- Select one statement piece — earrings OR necklace, not both
- Keep jewelry simple and classic — small studs, delicate chains
- Avoid very large, dangly earrings unless they're the intentional focus
- Remove watches for most professional photos
- Scarves and hats can work but require careful styling to avoid looking costume-like
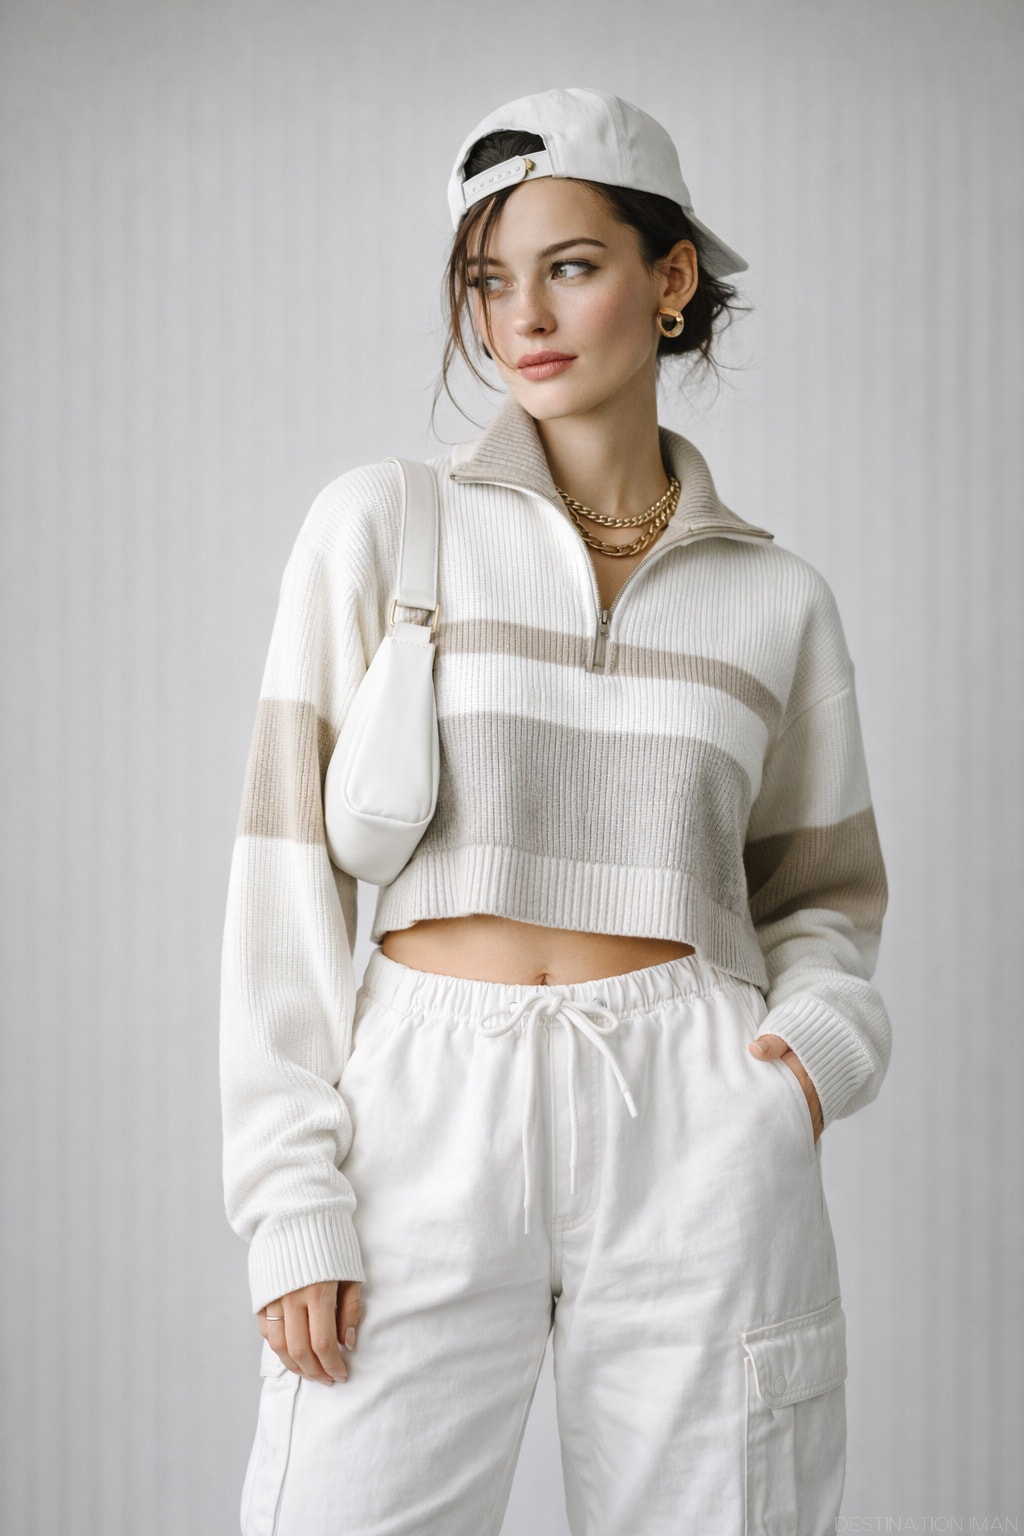
Layering Without Strategy
Multiple layers can create visual bulk and hide your body shape. Random layering without purpose makes you appear heavier and can create confusing visual lines.
Why this happens: Each layer adds visual weight. Without strategic construction, layers create a thick, shapeless silhouette that photographs as bulk rather than style.
The fix: Layer with intention:
- Keep layers fitted — avoid bulky, loose pieces under other clothes
- Create visual interest with texture rather than just piling on clothes
- Define your waist when wearing multiple layers
- Use layers to create vertical lines — open cardigans, long necklaces
- Limit to 2-3 visible layers maximum
Forgetting About Sleeve Length and Style

Sleeve length and style affect how your arms photograph. Cap sleeves and certain sleeve cuts can make arms appear wider, while others are universally flattering.
Why this matters: Sleeves create visual breaks on your arms. The wrong sleeve length can make arms look shorter, thicker, or cut them at unflattering points.
The fix: Choose flattering sleeve styles:
- Three-quarter sleeves — nearly universally flattering
- Long sleeves — elegant and slimming
- Avoid cap sleeves if you're self-conscious about arms
- Sleeveless can work with good posture and lighting
- Bell or flowy sleeves add visual interest but require careful posing
Practical and Preparation Issues
Wearing Wrinkled or Unpressed Clothing
Wrinkles create shadows, draw attention to fabric rather than you, and make photos look unprofessional. What might be barely noticeable in person becomes obvious in high-resolution images.
Why this happens: Every wrinkle casts a small shadow. Under photography lighting, these shadows are amplified, creating visual texture and distraction.
The fix: Prepare clothing properly:
- Steam or iron all clothing before the shoot
- Hang clothes immediately after steaming
- Bring a steamer or iron to the shoot if possible
- Choose wrinkle-resistant fabrics if you'll be traveling to the shoot
- Plan arrival time to allow for last-minute pressing if needed
Mismatch Between Outfit and Photo Purpose
Wearing formal business attire for a casual lifestyle shoot, or showing up in jeans for a corporate headshot, creates visual and emotional dissonance. Your clothing should match the intended use and mood of the photos.
Why this matters: Photos communicate instantly. Mismatched wardrobe sends confusing messages and can make images unusable for their intended purpose.
The fix: Align wardrobe with photo purpose:
- Professional headshots — business casual to business formal, depending on industry
- Lifestyle portraits — casual, comfortable clothing that reflects your personality
- Fashion photography — current, stylish pieces that showcase trends or aesthetics
- Family photos — coordinated but not overly matched, comfortable classics
- Creative portraits — expressive pieces that support the artistic vision
Wearing Trend-Heavy Pieces
Extremely trendy clothing dates photos immediately. What's fashionable now will look dated in 2-3 years, limiting how long your photos remain current and usable.
Why this is problematic: Trends cycle quickly. Clothing that screams a particular year or season makes photos feel old faster, reducing their longevity and professional utility.
The fix: Mix timeless classics with subtle current touches:
- Build around classic pieces — white shirt, black pants, simple dress
- Add current elements subtly — through cut, color, or small details
- Avoid extreme trends — exaggerated shoulders, ultra-wide legs, very specific prints
- Ask yourself — will this look good in 5 years?
- Classic never goes out of style — simple, well-fitted, quality pieces age beautifully
Dressing Without Testing
Choosing an outfit the morning of a shoot without testing how it photographs is risky. Clothing can behave unexpectedly under lighting and from camera angles.
Why this is risky: What looks good in your mirror may photograph poorly. Without testing, you won't discover problems until it's too late to change.
The fix: Test your outfit choices:
- Take test photos in similar lighting to your shoot if possible
- Check from multiple angles — front, side, seated if relevant
- Review photos critically — does anything distract or look awkward?
- Bring backup options to the shoot
- Communicate with your photographer beforehand about wardrobe
Photo-Ready Wardrobe Checklist
Before You Choose:
- Solid colors or very subtle patterns only
- Matte fabrics that absorb light evenly
- Proper fit — not too tight, not too loose
- Flattering neckline for your body type
- No visible logos or distracting text
- Minimal, tasteful accessories
- Classic, timeless style over extreme trends
Day of Shoot:
- Steam or iron all clothing
- Check for loose threads, missing buttons
- Test outfit from multiple angles
- Bring 2-3 outfit options
- Confirm outfit matches photo purpose
- Remove watch unless intentional
- Check that undergarments don't show
Color Guide by Skin Tone:
Warm Undertones (golden, peachy): Earth tones, warm browns, olive, rust, coral, gold, warm reds
Cool Undertones (pink, blue): Navy, grey, emerald, sapphire, cool reds, silver, pure white
Neutral Undertones: Lucky you — most colors work! Focus on depth and saturation that complement your coloring
Outfit Ideas by Photo Type
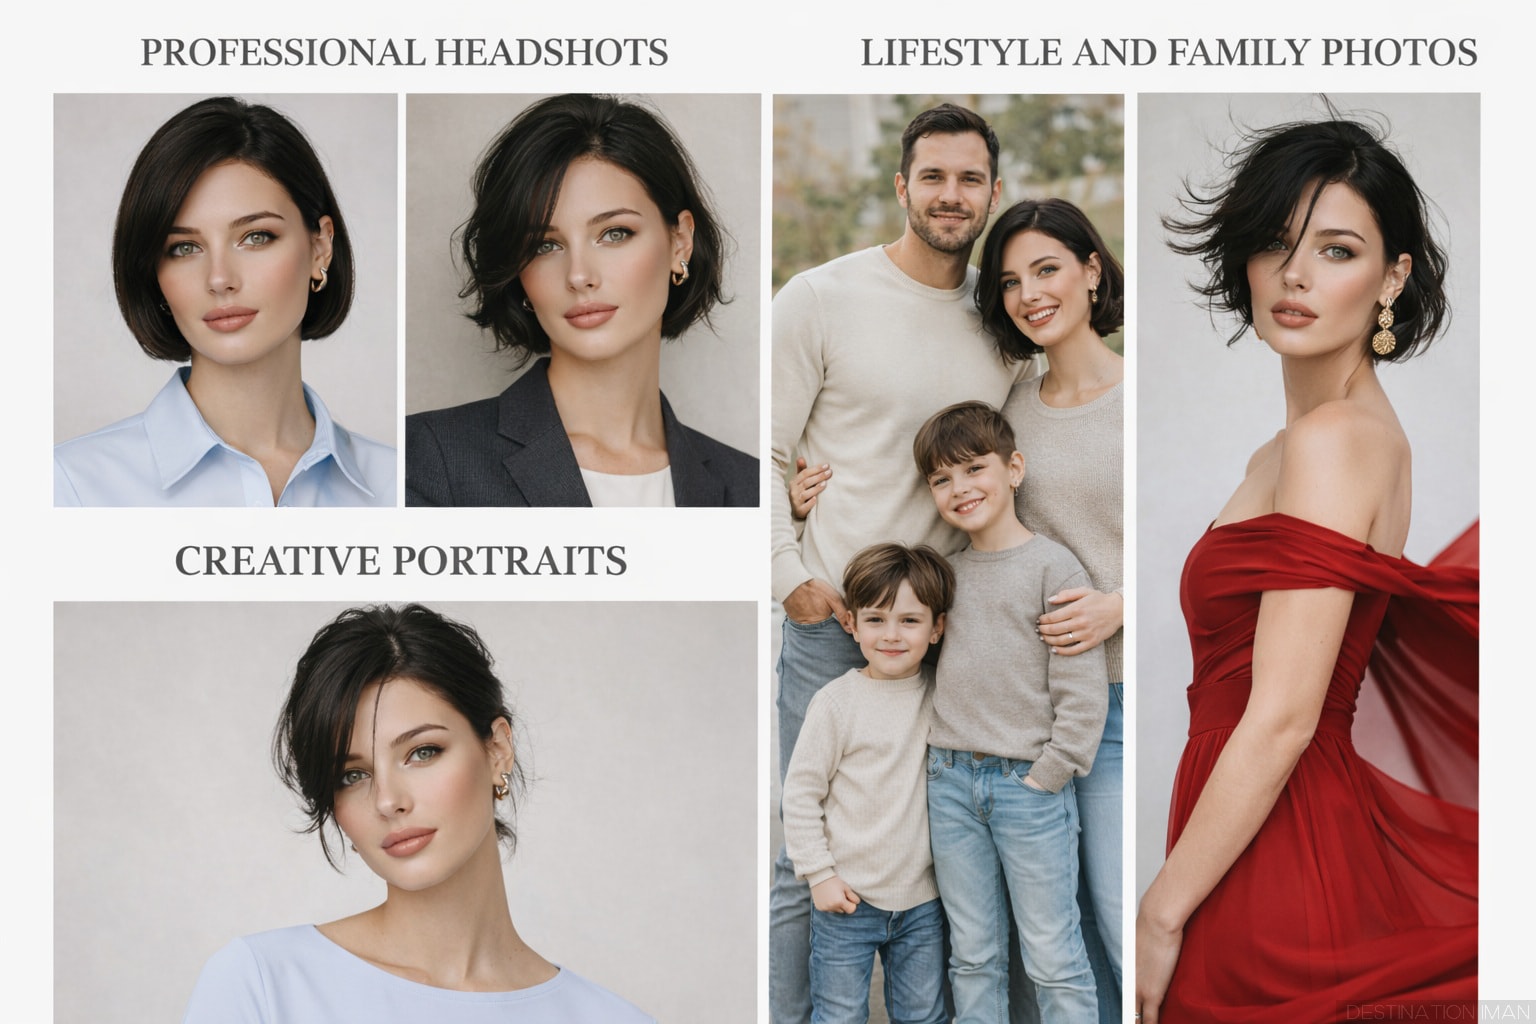
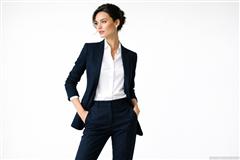
Professional Headshots
- Solid color button-down shirt or blouse
- Blazer in navy, charcoal, or neutral
- Simple dress with clean neckline
- Avoid white shirts (try light blue, grey, or cream instead)
Lifestyle and Family Photos
- Coordinated neutrals across family members
- Jeans or casual pants in good condition
- Soft sweaters or casual shirts
- One accent color for visual interest
Creative Portraits
- Expressive pieces that reflect personality
- Interesting textures (still matte)
- Bold but not busy color choices
- Flowing fabrics for movement (if appropriate)
Frequently Asked Questions
What colors look best in photos?
Muted, medium-toned colors typically photograph best. Earth tones (rust, olive, terracotta), jewel tones (emerald, sapphire, deep burgundy), and soft neutrals (grey, cream, navy) are universally flattering. Avoid pure white, pure black, and neon colors. Choose colors that complement your skin tone — warm undertones look best in warm colors, cool undertones in cool colors.
Should I completely avoid black and white clothing?
Pure black and pure white can be problematic, but modified versions work well. Instead of pure white, choose cream, off-white, or light grey. Instead of pure black, choose charcoal, deep navy, or dark brown. These alternatives photograph with better detail retention while still giving you the clean, neutral look you want.
Do clothes really affect how my body proportions look in photos?
Absolutely. Cut, fabric, color, and fit dramatically influence visual perception. Horizontal stripes can widen, while vertical lines elongate. Shiny fabrics emphasize curves and add visual weight. Proper fit showcases your natural shape, while ill-fitting clothes distort it. Strategic clothing choices can enhance your best features and minimize areas you're self-conscious about.
Can I wear patterns at all, or should I stick to solids?
You can wear patterns, but choose them carefully. Large-scale, simple patterns work well. Think: large floral prints, wide stripes (3+ inches), subtle tone-on-tone patterns, or textural patterns that read as solid from a distance. Avoid: small busy patterns, thin stripes, checks, houndstooth, or anything that creates visual noise when you squint at it.
How do I know if my outfit will photograph well before the shoot?
Take test photos with your phone in similar lighting to your shoot. Check from multiple angles. Ask yourself: Does anything distract from my face? Do any areas look bulky or unflattering? Does the outfit match the photo's purpose? Show test photos to your photographer if possible. When in doubt, bring 2-3 outfit options to the shoot.
What should I wear for outdoor versus studio photos?
Studio photos with controlled lighting are more forgiving — you can wear darker colors and have more contrast. Outdoor photos, especially in bright sunlight, work best with medium tones that don't create extreme exposure challenges. For outdoor shoots, consider the background — you want some contrast so you don't blend into the environment. Coordinate with the natural setting's color palette.
Final Thoughts
Clothing plays a more powerful role in photography than most people realize. The right wardrobe choices enhance your natural proportions, support confident posing, keep attention on your face and expression, and ensure your photos remain timeless and usable for years.
By avoiding common clothing mistakes in photography — busy patterns, problematic colors, shiny fabrics, poor fit, distracting details, and extreme trends — you create a strong foundation for beautiful photos. Combined with proper posing, good lighting, and authentic expression, thoughtful wardrobe choices ensure you'll love your photos both now and in the future.
Remember that the best outfit is one that makes you feel confident and comfortable. If you're constantly adjusting, feeling self-conscious, or worried about how something looks, that discomfort will show in your photos. Choose clothing that fits well, flatters your body, suits the photo's purpose, and allows you to focus on being present and authentic rather than worried about your wardrobe.
When in doubt, go simple, classic, and well-fitted. These choices never go out of style and ensure your photos remain beautiful for decades.